Though its features are often overlooked, the Outliner makes it easier to:
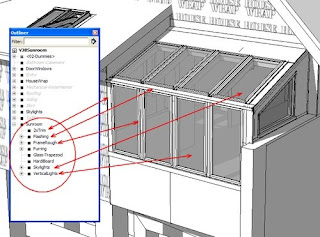
1. Break the model down into the pieces of its construction. These pieces are the “named” Groups that make up the deconstructible assembly of the construction model. Every piece is then joined as part of a subassembly or Group of Groups.

2. Stage these subassemblies according to Hide and Layer commands in the SketchUp program. These subassemblies include the operational parts of equipment and materials, the components of subcontracts, and the visual representation of scope within the construction phases or processes.

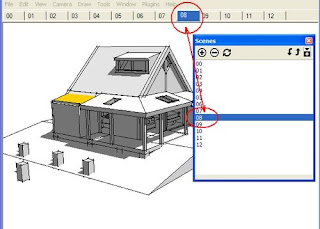
3. Scenes are created to construct and deconstruct the subassemblies, in order to animate the sequence of a task and navigate through the construction site. The Outliner is central to the control and display of the pieces in these Scenes.
With the Outliner dialog box open, try these basic steps:
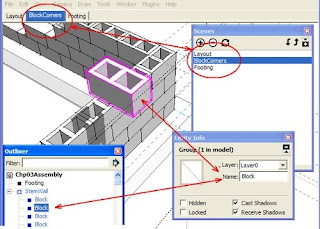
1. Fabricate the individual pieces on Layer 0, then Group and name the piece. Note the named Group is now visible in the Outliner. To a constructor, it’s these individual pieces that are important to the construction. Fabricating and naming the pieces separately means they can be identified and controlled within an assembly.

2. Group the piece-groups and name them as subassemblies. Note that the named subassemblies are now visible in the Outliner as nested Groups. The subassemblies organize the model in phases or sections in the same way they are organized in the real world.
TIP: You can cut, copy and paste the names of the pieces in the Outliner. You can also drag and drop the pieces from named Group to named Group.
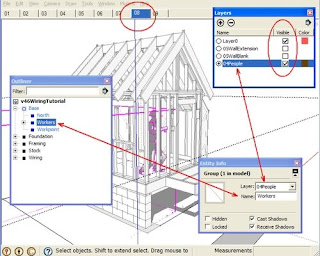
3. Use Scenes with the Hide and Layers commands to control the pieces and the subassemblies. To Hide a subassembly, Right-click its name in the Outliner. You can also place individual pieces or entire subassemblies to a named Layer and then turn layer visibility on and off in the Layers dialog box.

4. When ready, create a Scene to capture the current view. Each Scene can be exported as a 2D image and inserted into a text document, spreadsheet, or slideshow. A series of scenes can also be played as an animation.
TIP: You'll see these techniques first explored in our book 3D Construction Modeling. They then evolve through all our books into the 13 tutorials in our most recent publication, How a House is built: With 3D Construction Models.
