Before I begin the posts for the building systems, I’ve been asked to describe how the models for these illustrations were made and what programs I use for construction modeling.

All of the models in our books were built using an older, simpler, and “free” version of SketchUp v5 or v6 (download here)
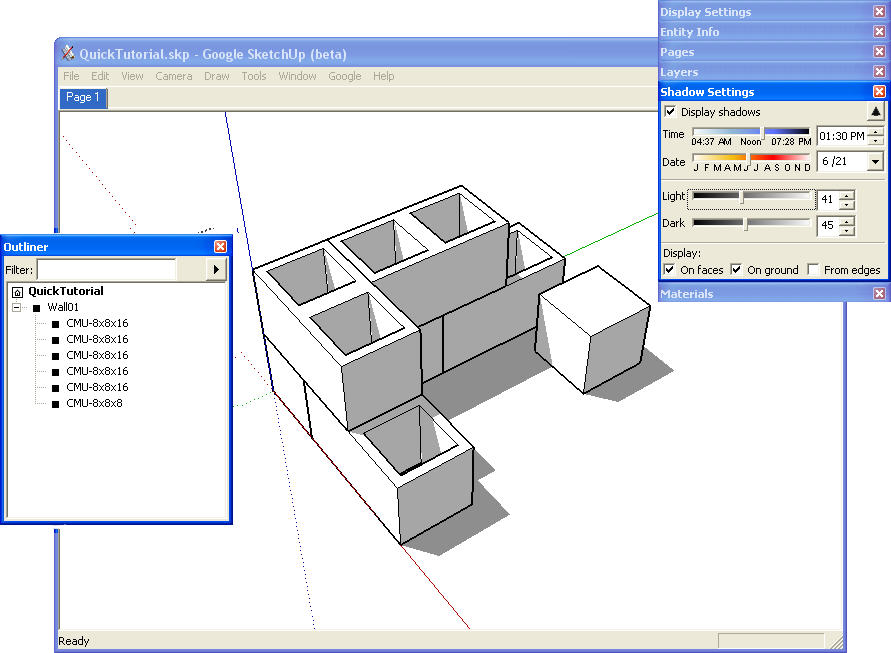
Overview of Construction Modeling
A construction model is a builder’s tool and has nothing to do with 2D drafting, estimates, or quantity takeoffs. Instead, the models are “piece-based” and constructed just as they would be in the field. They are virtual simulations. Here are the three basic steps (and their tools)
- Move around the model space to orient yourself (Orbit, Pan, and Zoom
- Make the pieces for the assembly (Rectangle, Extrude, and Scale)
- Snap the pieces together in the sequence of construction (Move. Rotate, and Copy)
If you’re new to SketchUp open a new file and play with the program menus, dialog boxes, and navigation tools to see what they do.
When ready:
Manufacture a block (with these tools):
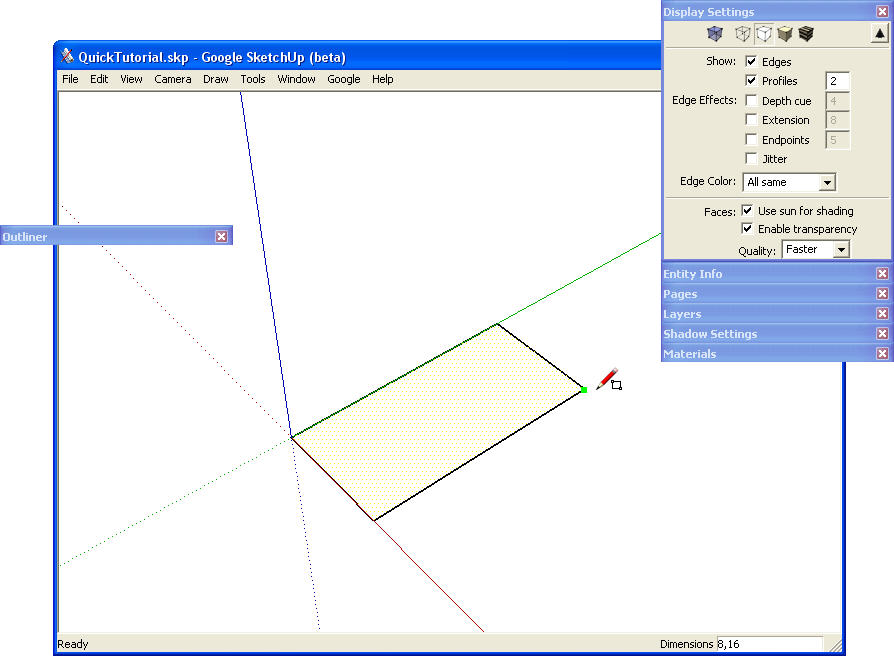
- Drag out an 8,16 rectangle (Rectangle tool)
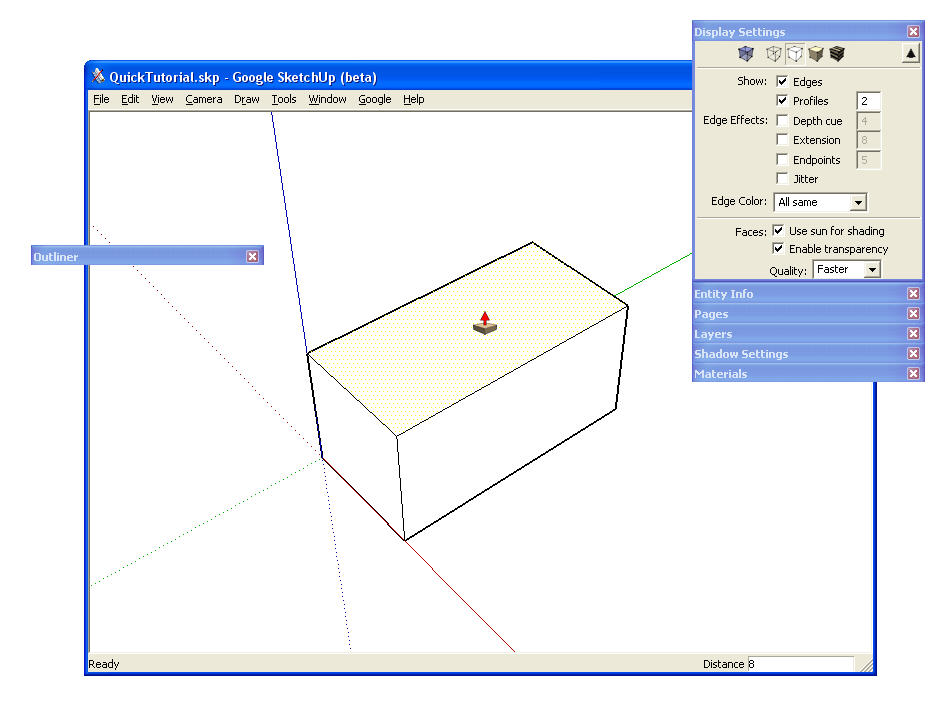
- Extrude up 8 to form the block (Extrude tool)
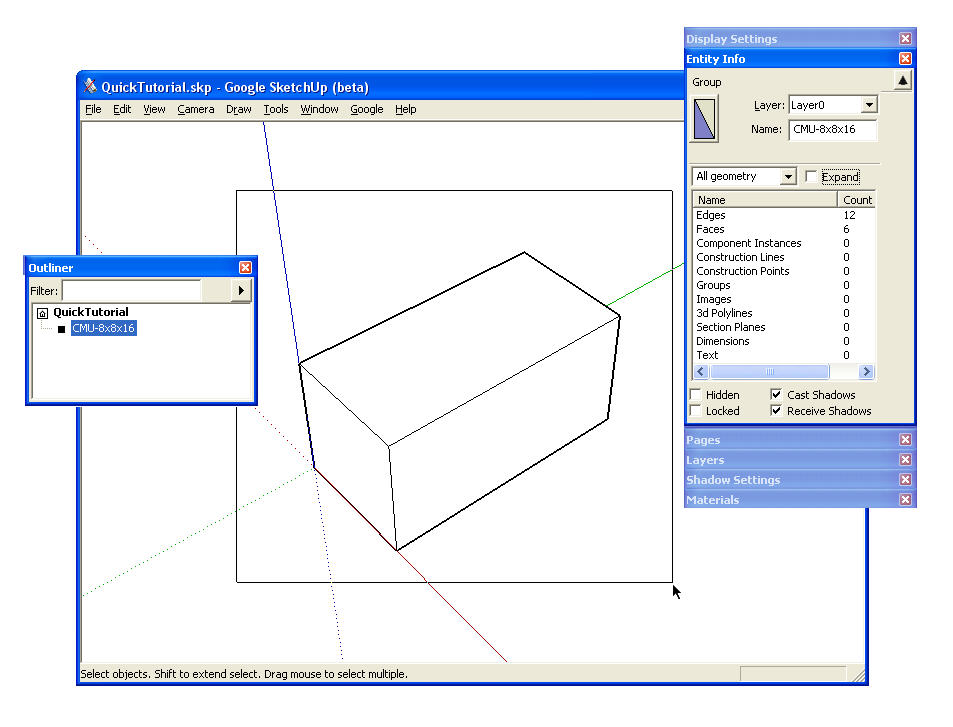
- Select and Group as a solid (Group tool)
- Name the block (Entity Information)
Repeat the above steps to make a half block (8,8)
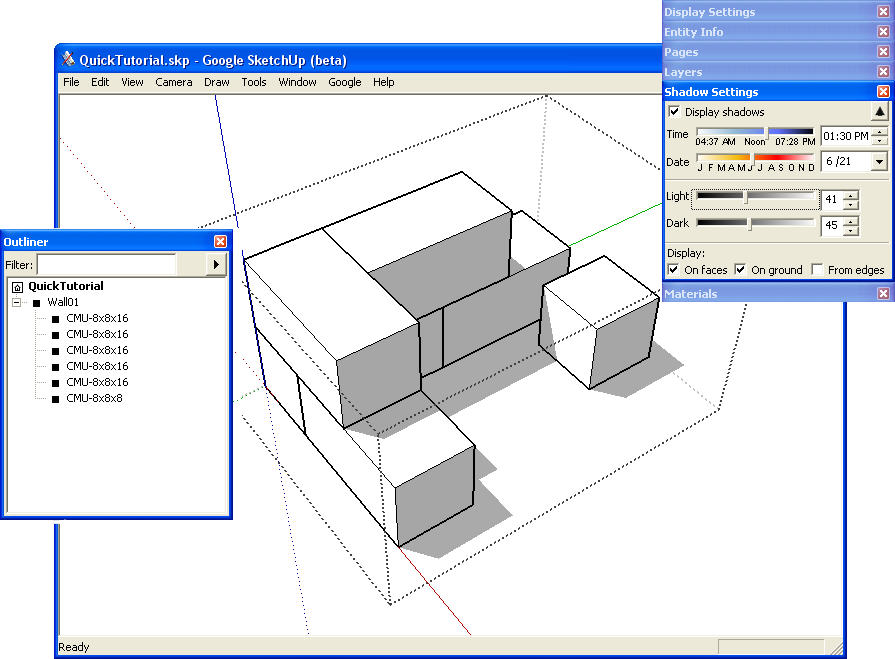
Assemble the wall (with these tools)
- Drag out intersecting Chalklines (Tape Measure tool)
- Select a corner and snap into place (Move tool)
- Select an axis and rotate (Rotate tool)
Adding detail
It gets a little more complicated if you want to add more detail. For example, to edit the block and add hollow cells to illustrate rebar placement.:
- Select the block and right click to Edit Group (or double click)
- Use Tape Measure tool with Ctrl to drag out chalk lines
- Drag out a Rectangle for the cut out
- Extrude the cut out down to form the hollow cell
Here’s the model if you want to deconstruct it (InsitebuildersTut01.skp)
Tips and Tricks
- Store new pieces to a warehouse file for use in future models
- Use the older and much simpler SketchUp v5 or v6 (download here)
- Stay organized with named Groups in the Outliner
- Use Construction Lines like you would use chalk-lines in the field.
- Setup Shortcut keys and Preferences as you build your model
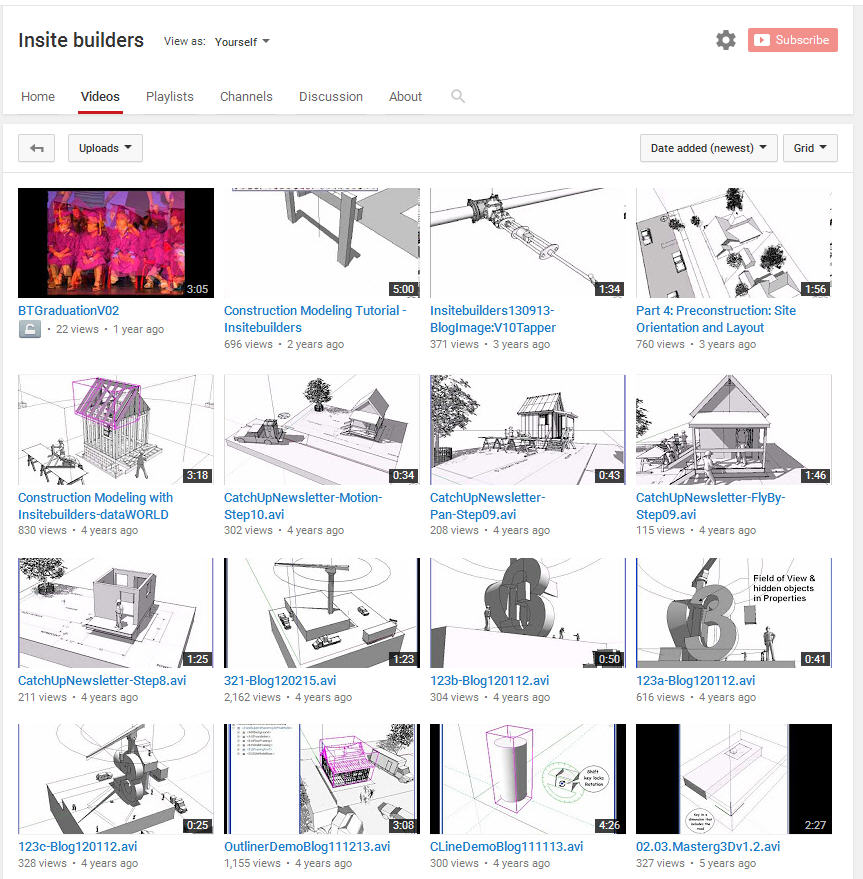
- See our videos on the Insitebuilders YouTube Channel
- If you get really serious, take a look at Mastering the Art of Construction Modeling.
(To be continued…)
---------------------------
The material presented in this series has been taken from our book, “How a House is Built: With 3D Construction Models” The book includes annotated illustrations, captioned text, videos, models, and the 2D Preliminaries.

