(Introduction, Syllabus, 1.Prelims, 1-4Precon, 2. Excavation, 3.Foundation, 4.Framing, 5.Roofing, 6.Shell, 7.MEP, 8.Finish)
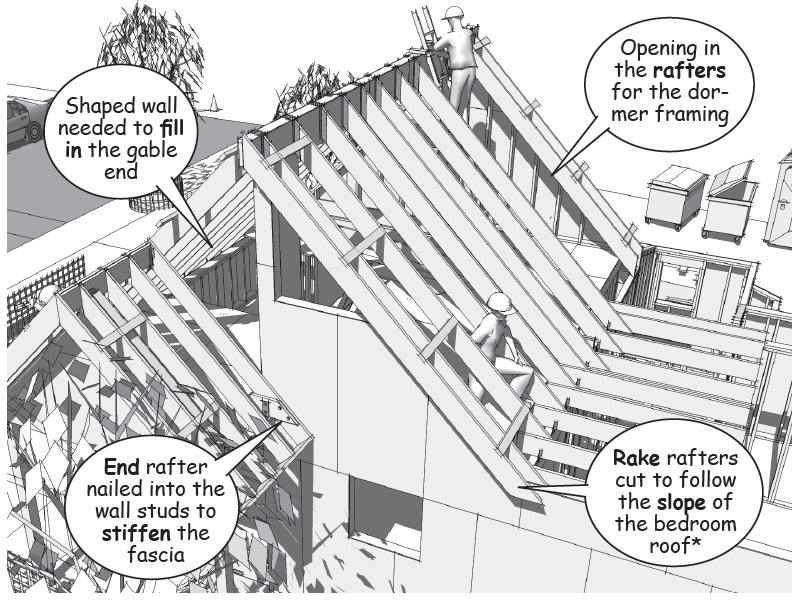
Roof sheathing is added to stiffen the steeply pitched roof against lateral loads caused by wind and earthquake. An opening for a dormer on the north side of the roof is left open and will be framed after the intersecting hip roof is completed.
Framing the opening for the dormer
The opening allows carpenters to stage tools and equipment on the loft floor and have direct access to the work for the intersecting roof.
The opening allows carpenters to stage tools and equipment on the loft floor and have direct access to the work for the intersecting roof.
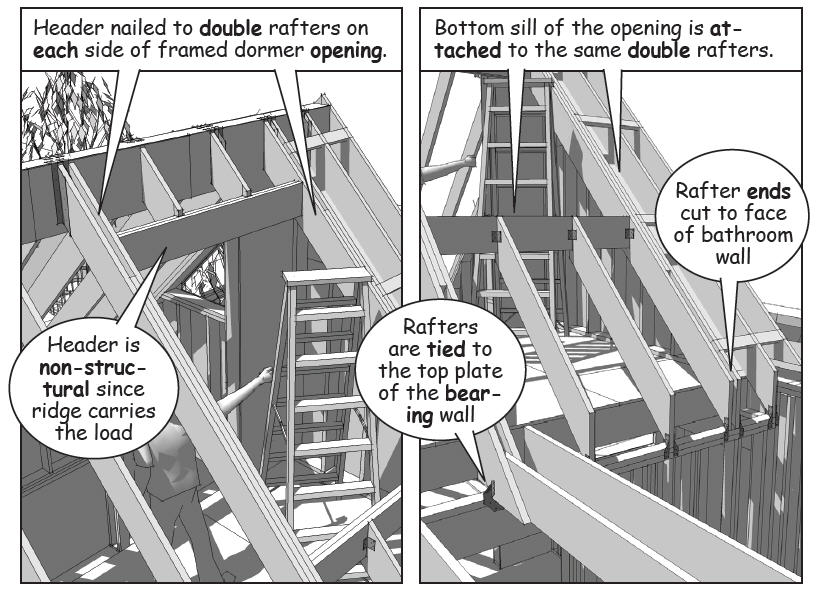
Short rafters are clipped to the ridge beam and the interior bearing wall to counter uplift loads from the dormer once it is in place.
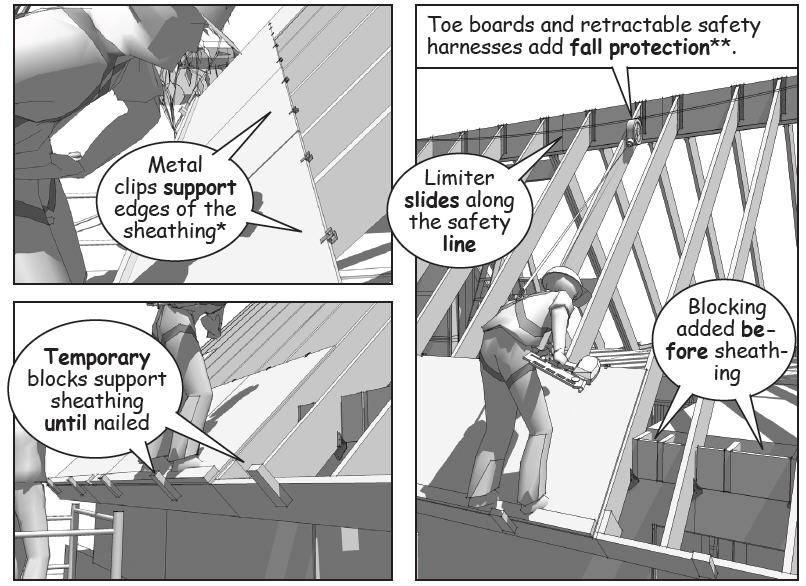
Roof sheathing stiffens the roof framing
The edges of the sheathing are supported by structural clips inserted between the rafters along the horizontal joints. These clips stiffen the edges against long term loads from weather and dead weight of the roofing.
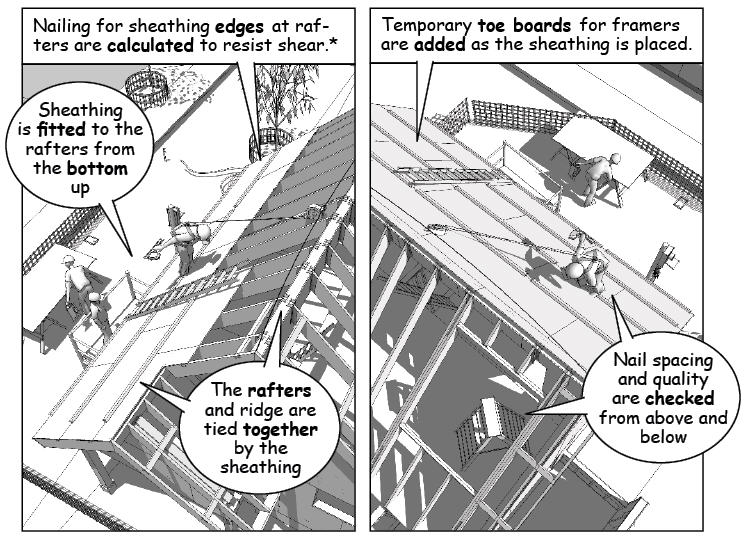
The sheathing is placed in a staggered pattern to minimize continuous joints and distribute the roof loads evenly across the rafters.

Each sheet is cut to fit the rafter spacing and the edges are nailed following a designated nail pattern. Nail placement and spacing are specified by the engineering calculations and the requirements of local building codes.
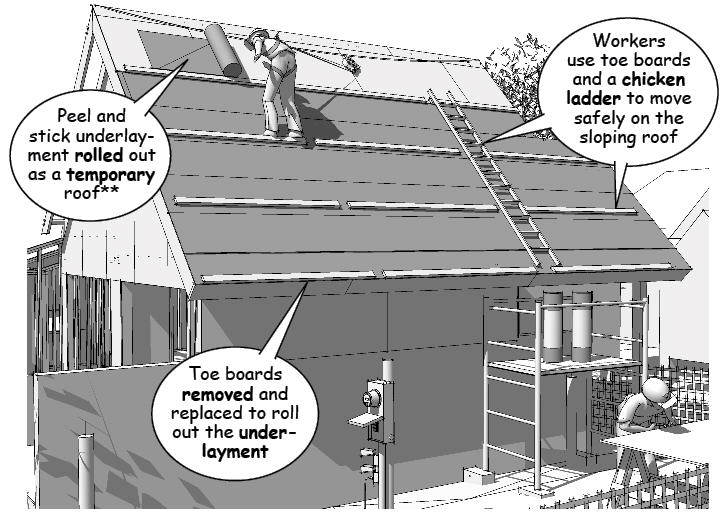
Toe boards and chicken ladders give the carpenters a better footing and are nailed into the rafters as an underlayment to temporarily waterproof the unfinished framing.
---------------------------
The material presented in this series has been taken from our book, “How a House is Built: With 3D Construction Models” The book includes annotated illustrations, captioned text, videos, models, and the 2D Preliminaries.
The material presented in this series has been taken from our book, “How a House is Built: With 3D Construction Models” The book includes annotated illustrations, captioned text, videos, models, and the 2D Preliminaries.

.
